Importing documents
To scan a document you need to go to the “Start Scan” section.
Once you open the section, you can choose between standard templates or create a custom template.
Standard templates include: Purchase orders, invoices, receipts and generic documents.
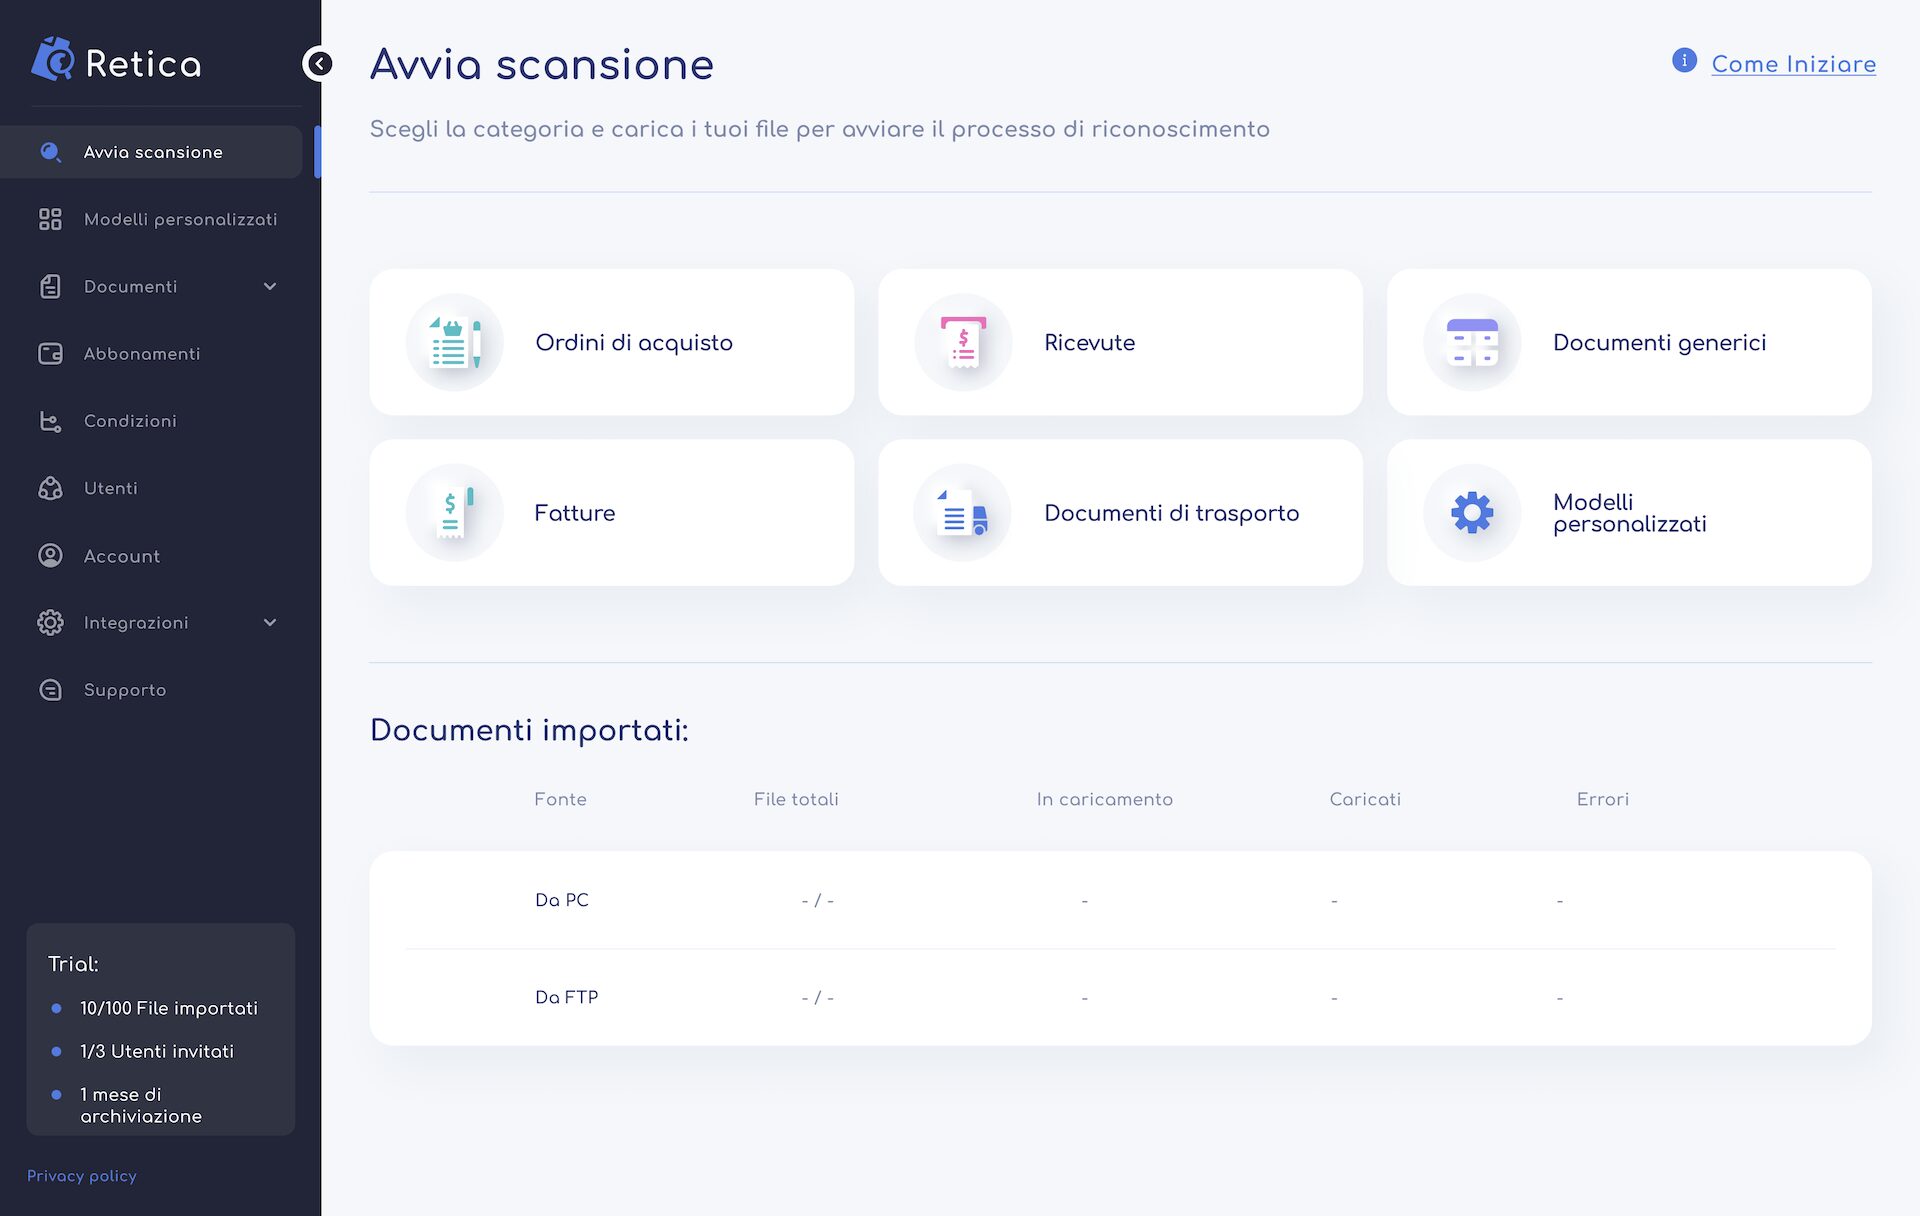
Once you have selected the template you want to use, you need to select whether you want to import the document manually or using the FTP (or SFTP) import protocol.
To import documents via FTP protocol, you must first configure the FTP connection in the “Integrations” section
Examples of standard models
Purchase orders
Extract all keys/values and table contents for any type of purchase order
Invoices
Extract only the texts and table contents needed for invoices by associating them with pre-set keys
Receipts
Extract only the texts and table contents needed for receipts by associating them with pre-set keys
General Documents
Extract all keys/values and table contents for any type of document or form
Manual import
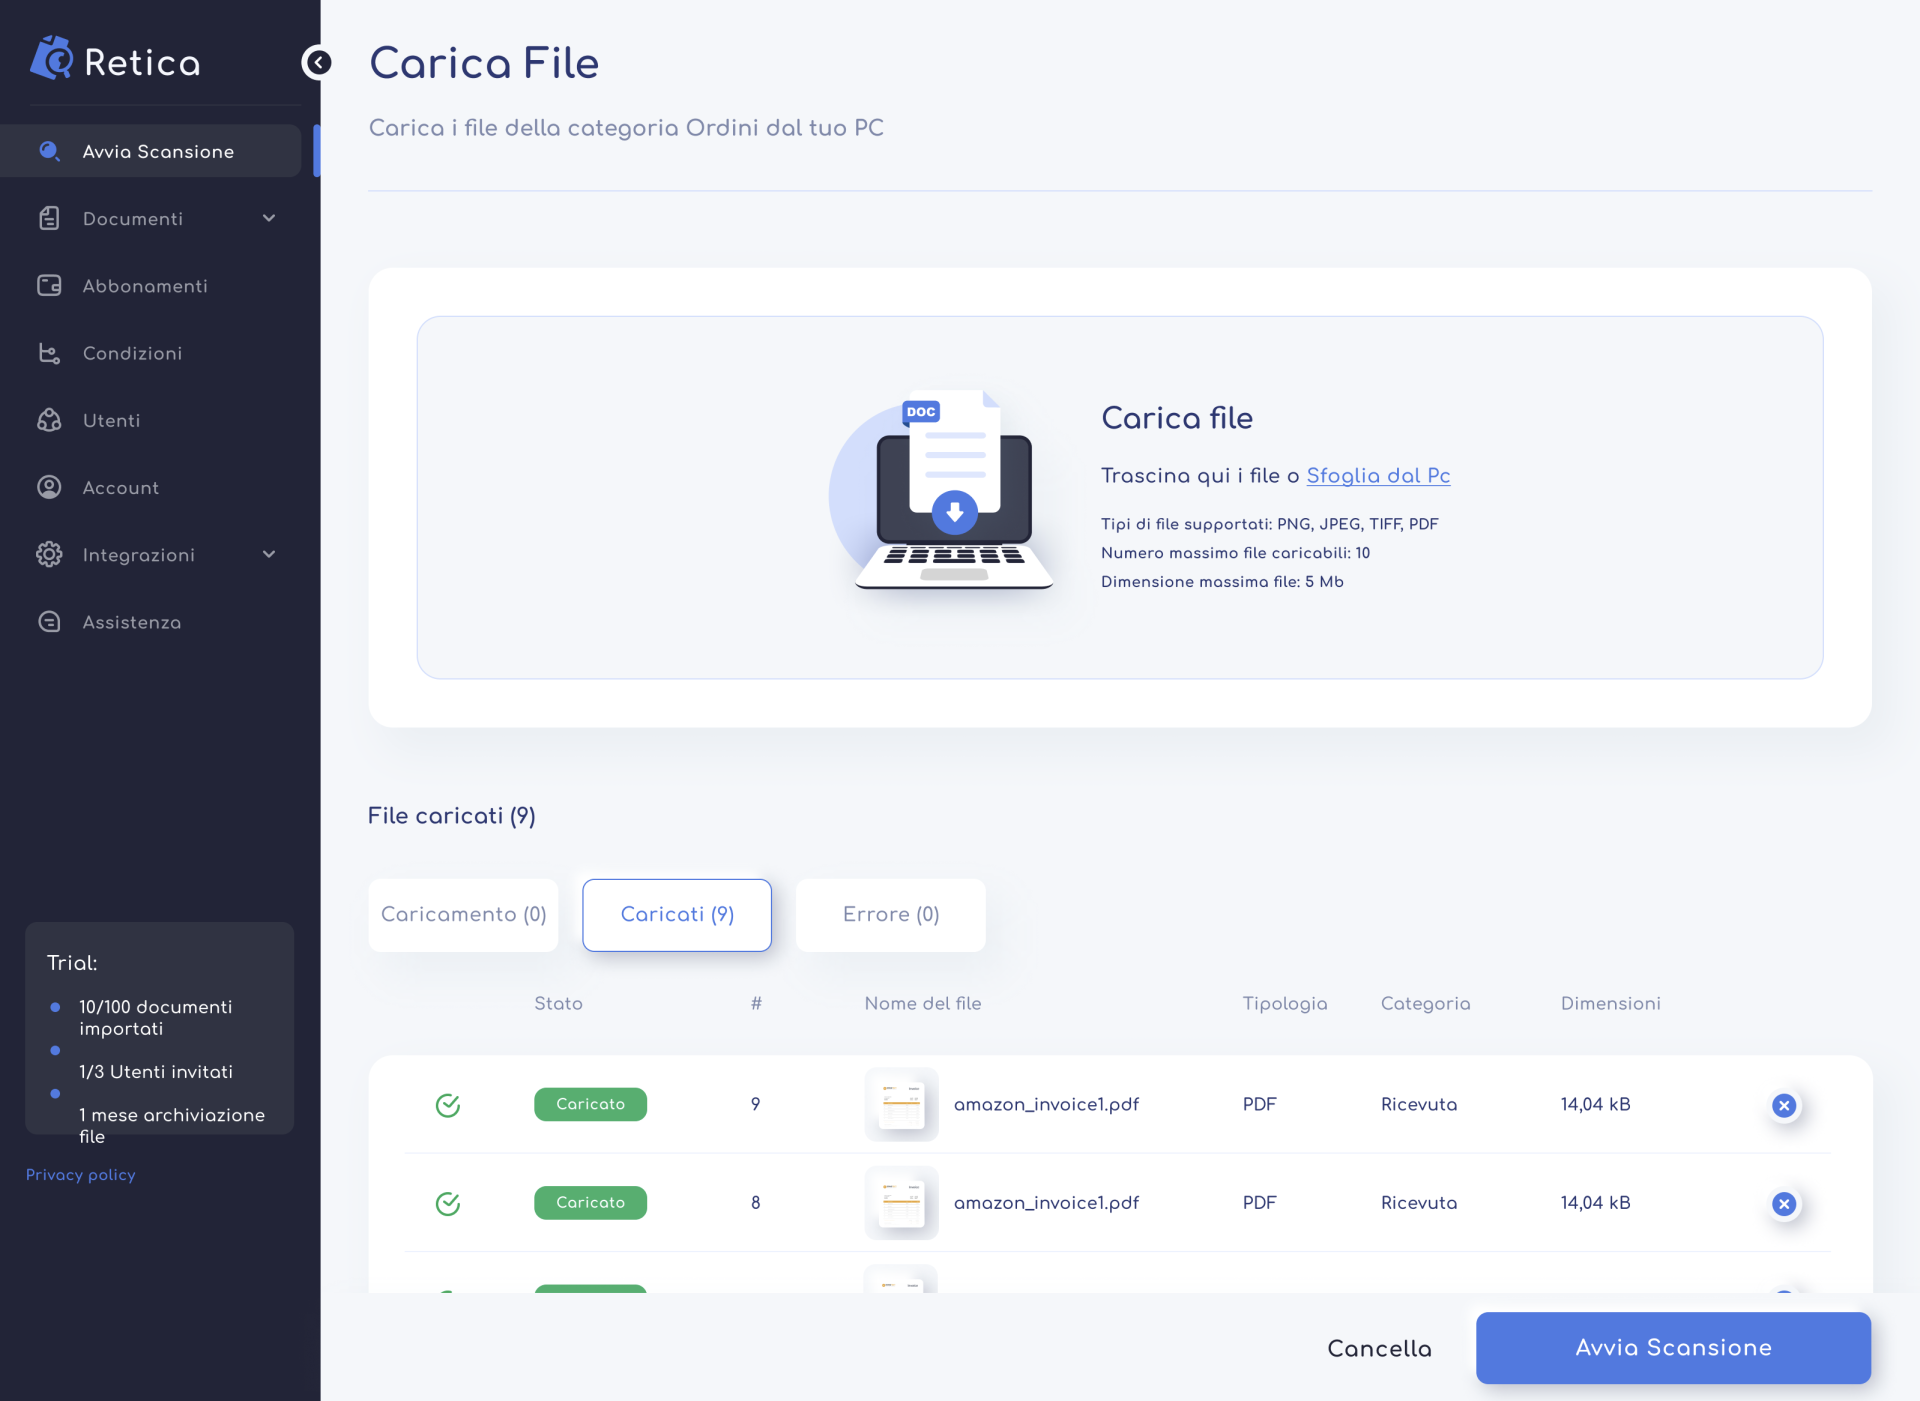
By selecting manual import, you can upload one or more documents at the same time (Maximum 10 documents) with the following formats: PNG, JPEG, TIFF, PDF.
You can import by dragging the documents into the dedicated area, or by pressing the “Browse from PC” button and selecting the documents you want to import from the window that appears.
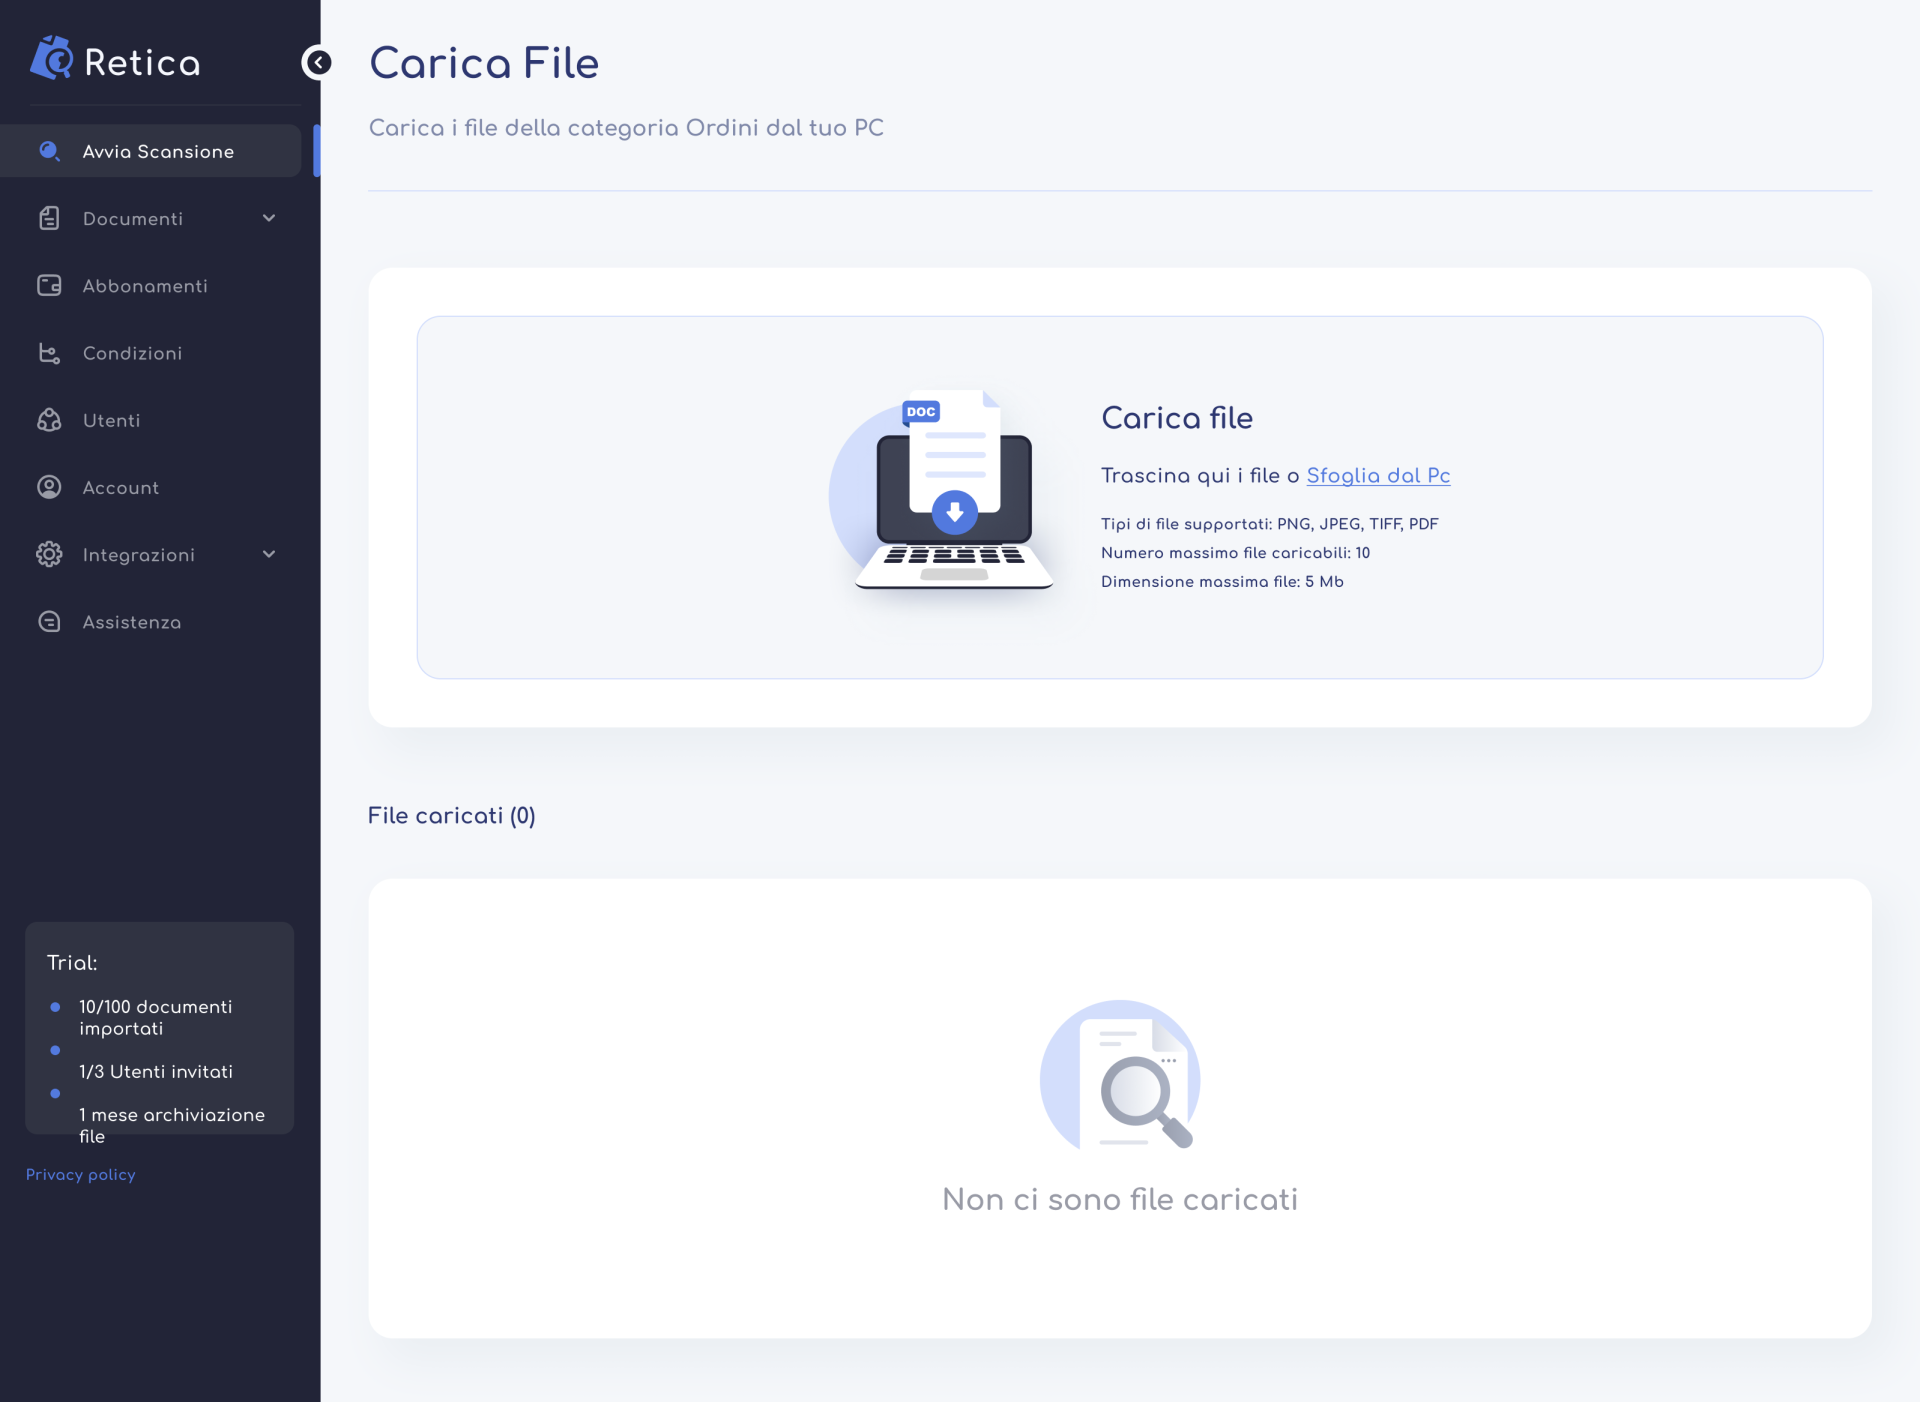
The imported documents will appear in the lower table in the “Upload” category.
Once the system finishes uploading, the documents will appear in the “Uploaded” category if successful, otherwise they will be shown in the “Error” category. In this case the upload will not have been successful and it is recommended to try importing them again. If the result is still unsuccessful, check that the file is not corrupted or contact support.
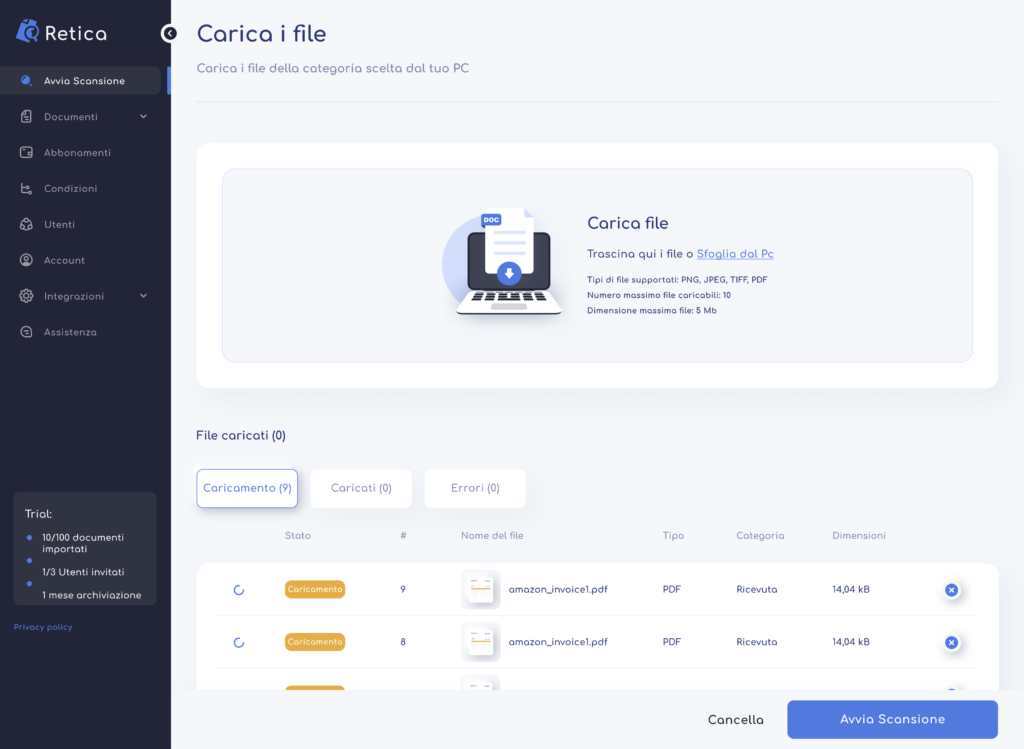
From this moment on, you can press the “Start Scan” button which will direct you to the Documents section.
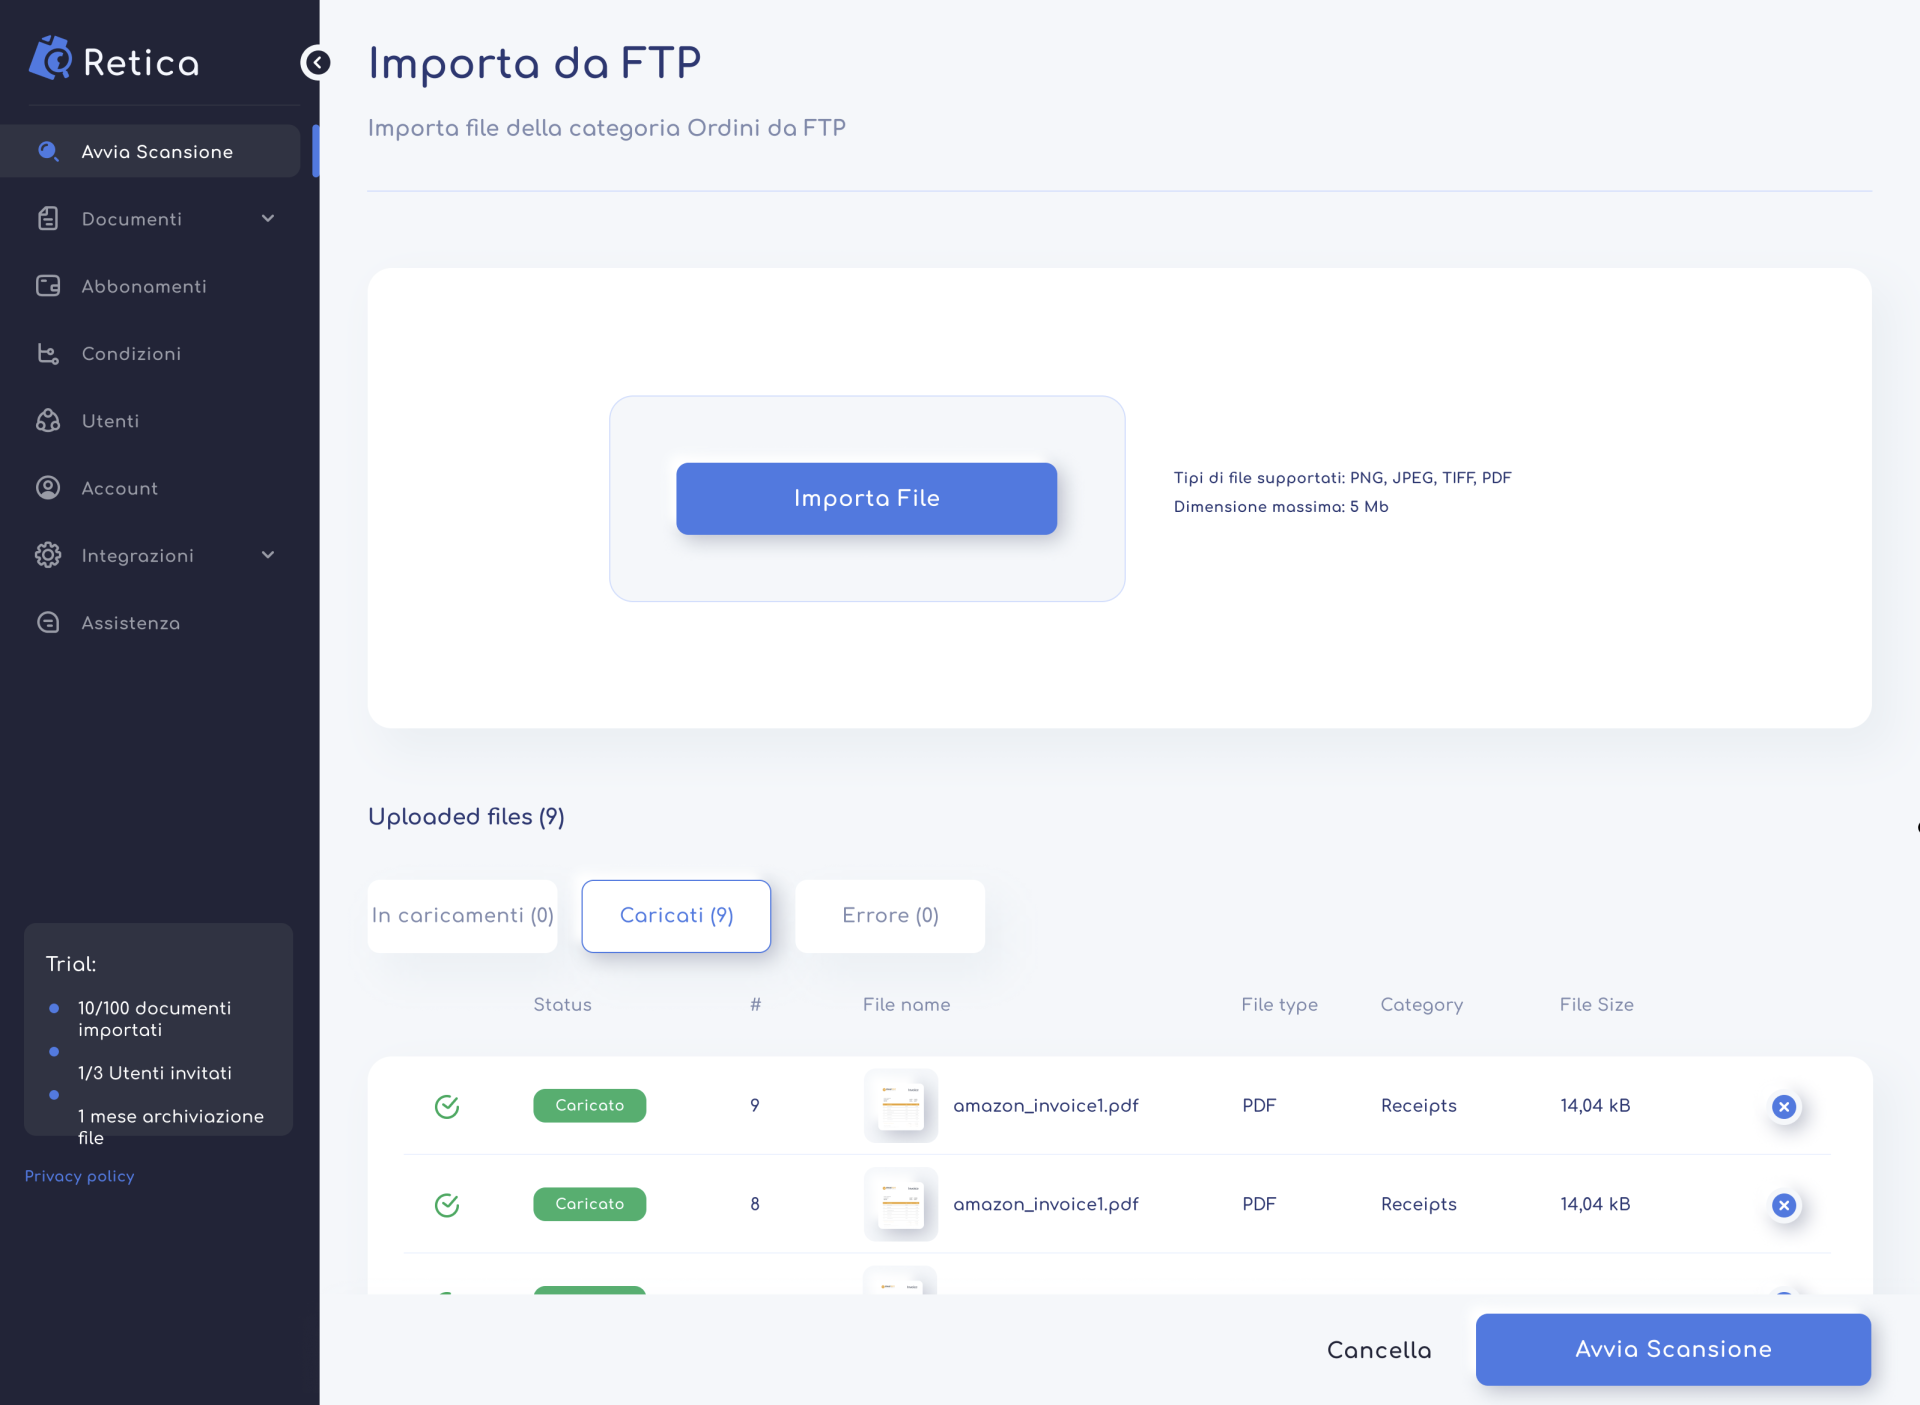
Import via FTP protocol
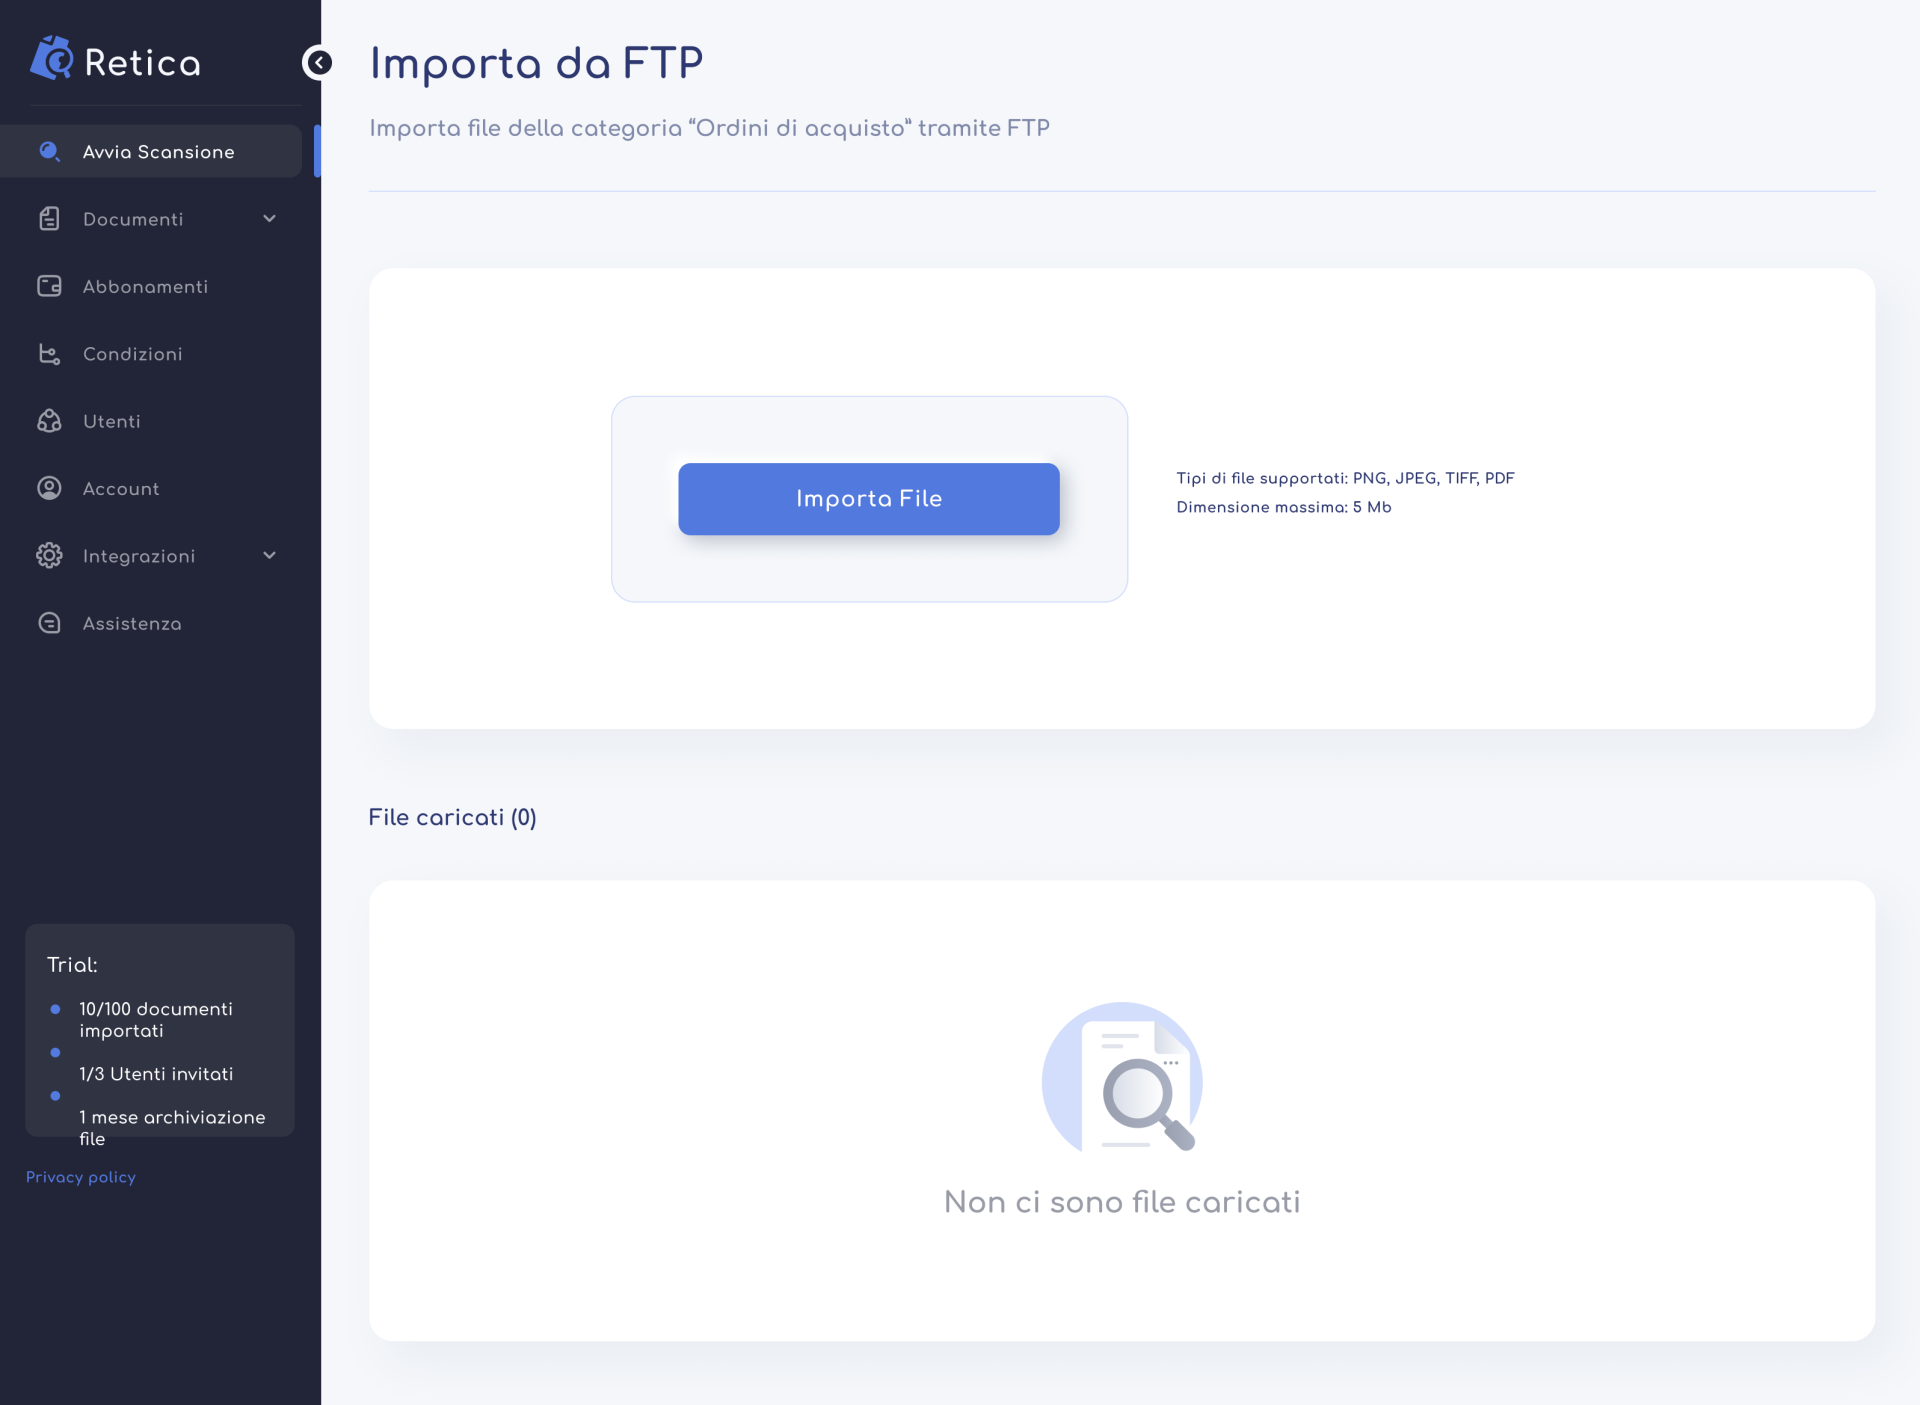
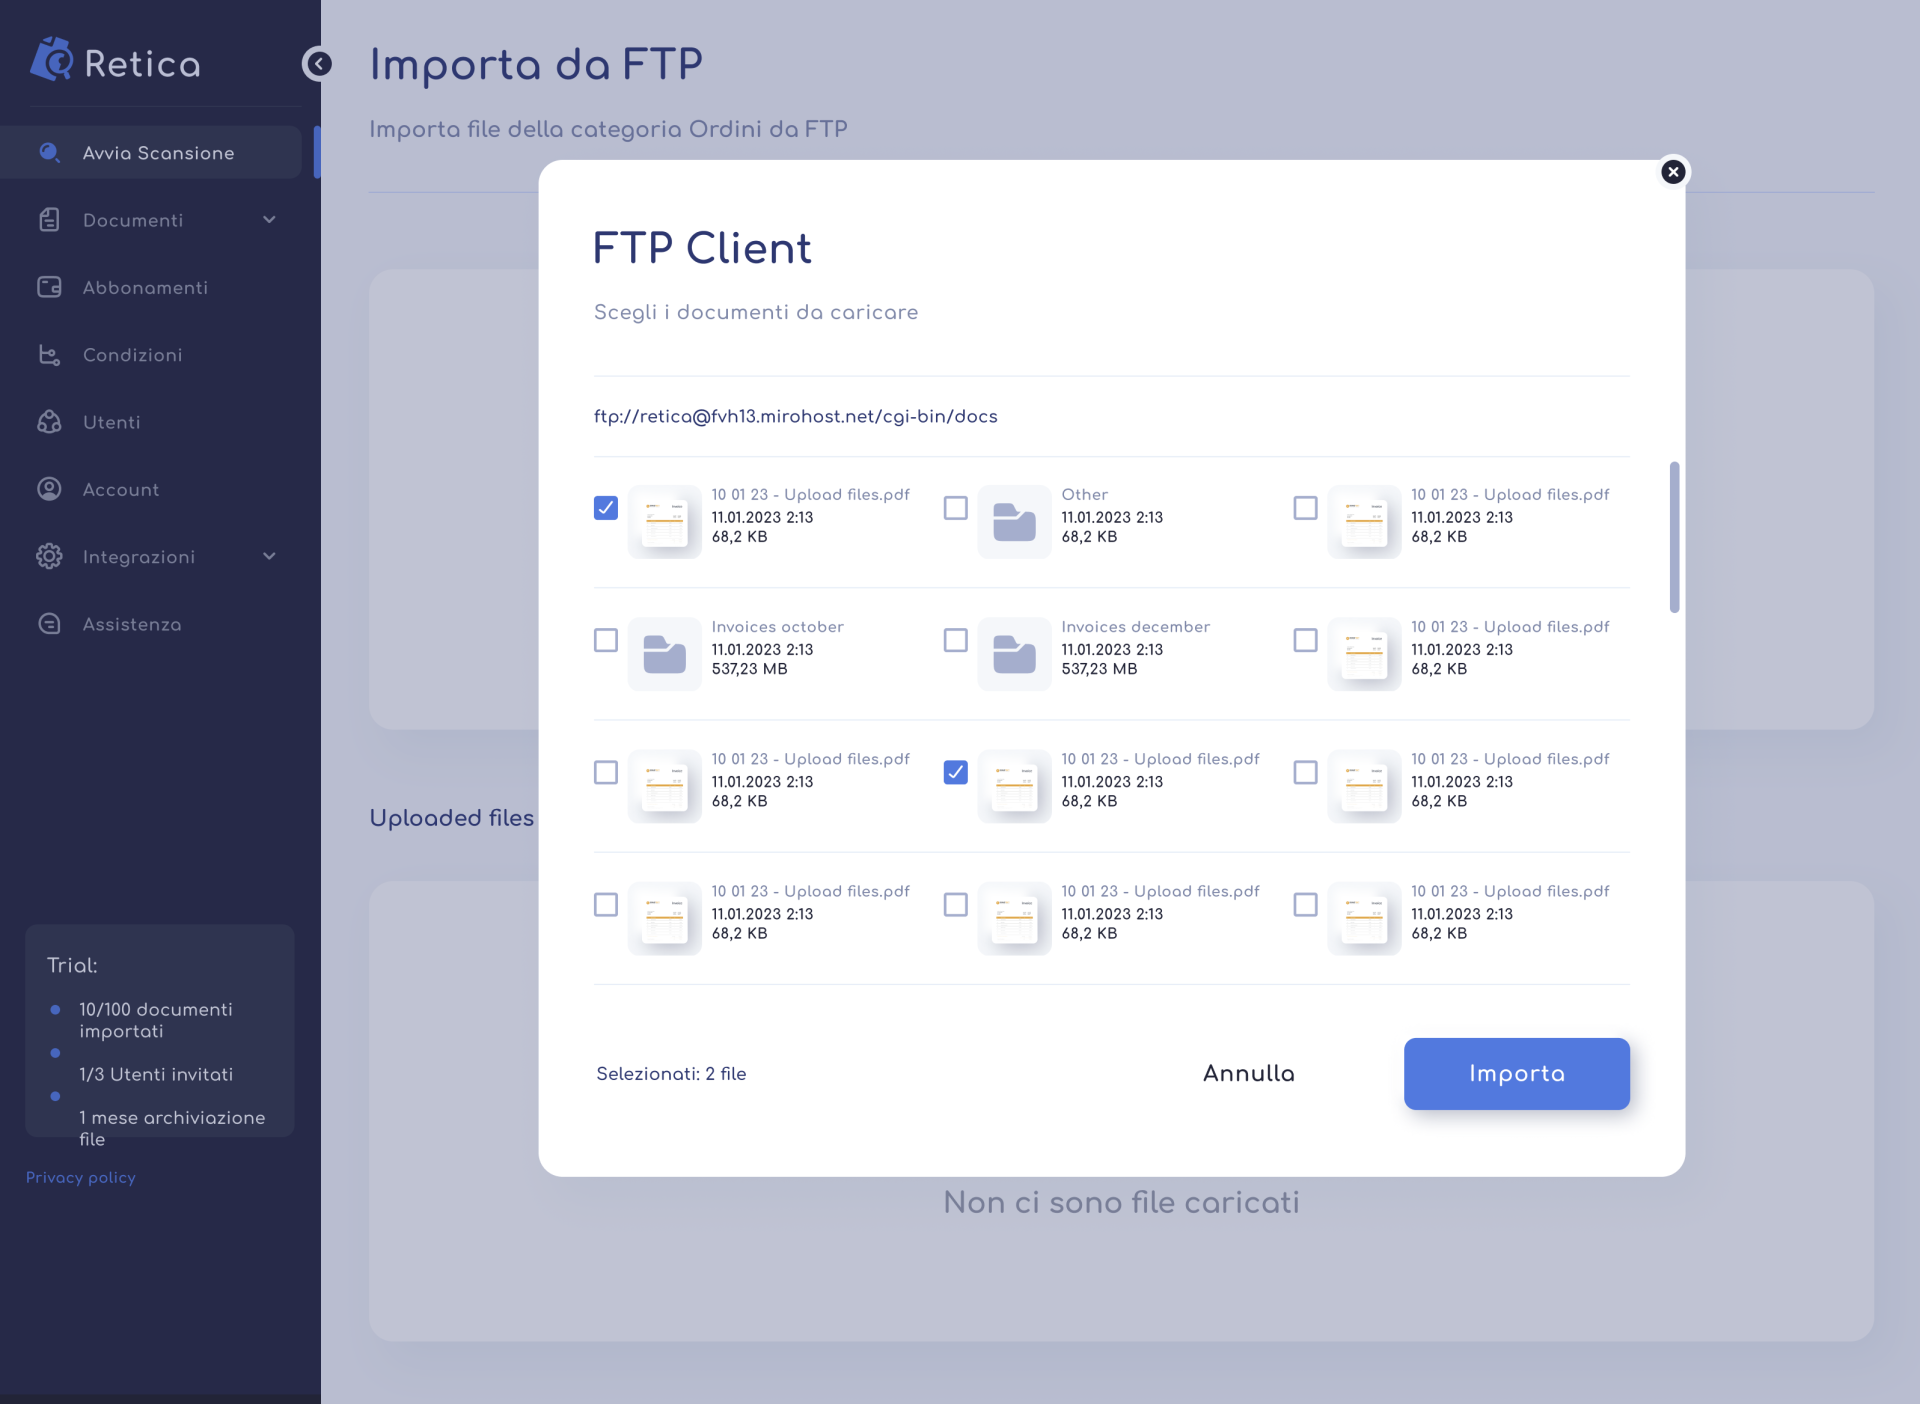
You can import documents into Retica by connecting to a directory of an FTP (or SFTP) folder. The configuration must be done in the Integrations section.
After establishing the connection, you can select the files to import by pressing the “Import files” button
