Users and access management
Depending on the type of subscription, Retica allows you to add one or more users to your private area who can access via their email address and can fully use all the services included in the subscription.
Invite new users
To invite new users to your private area, you must first verify that the subscription you purchased allows multiple users to use the platform (check in the subscriptions section). If this option is provided for by the subscription, you must then go to the “Users” section in the left menu and click on the “Invite user” button.
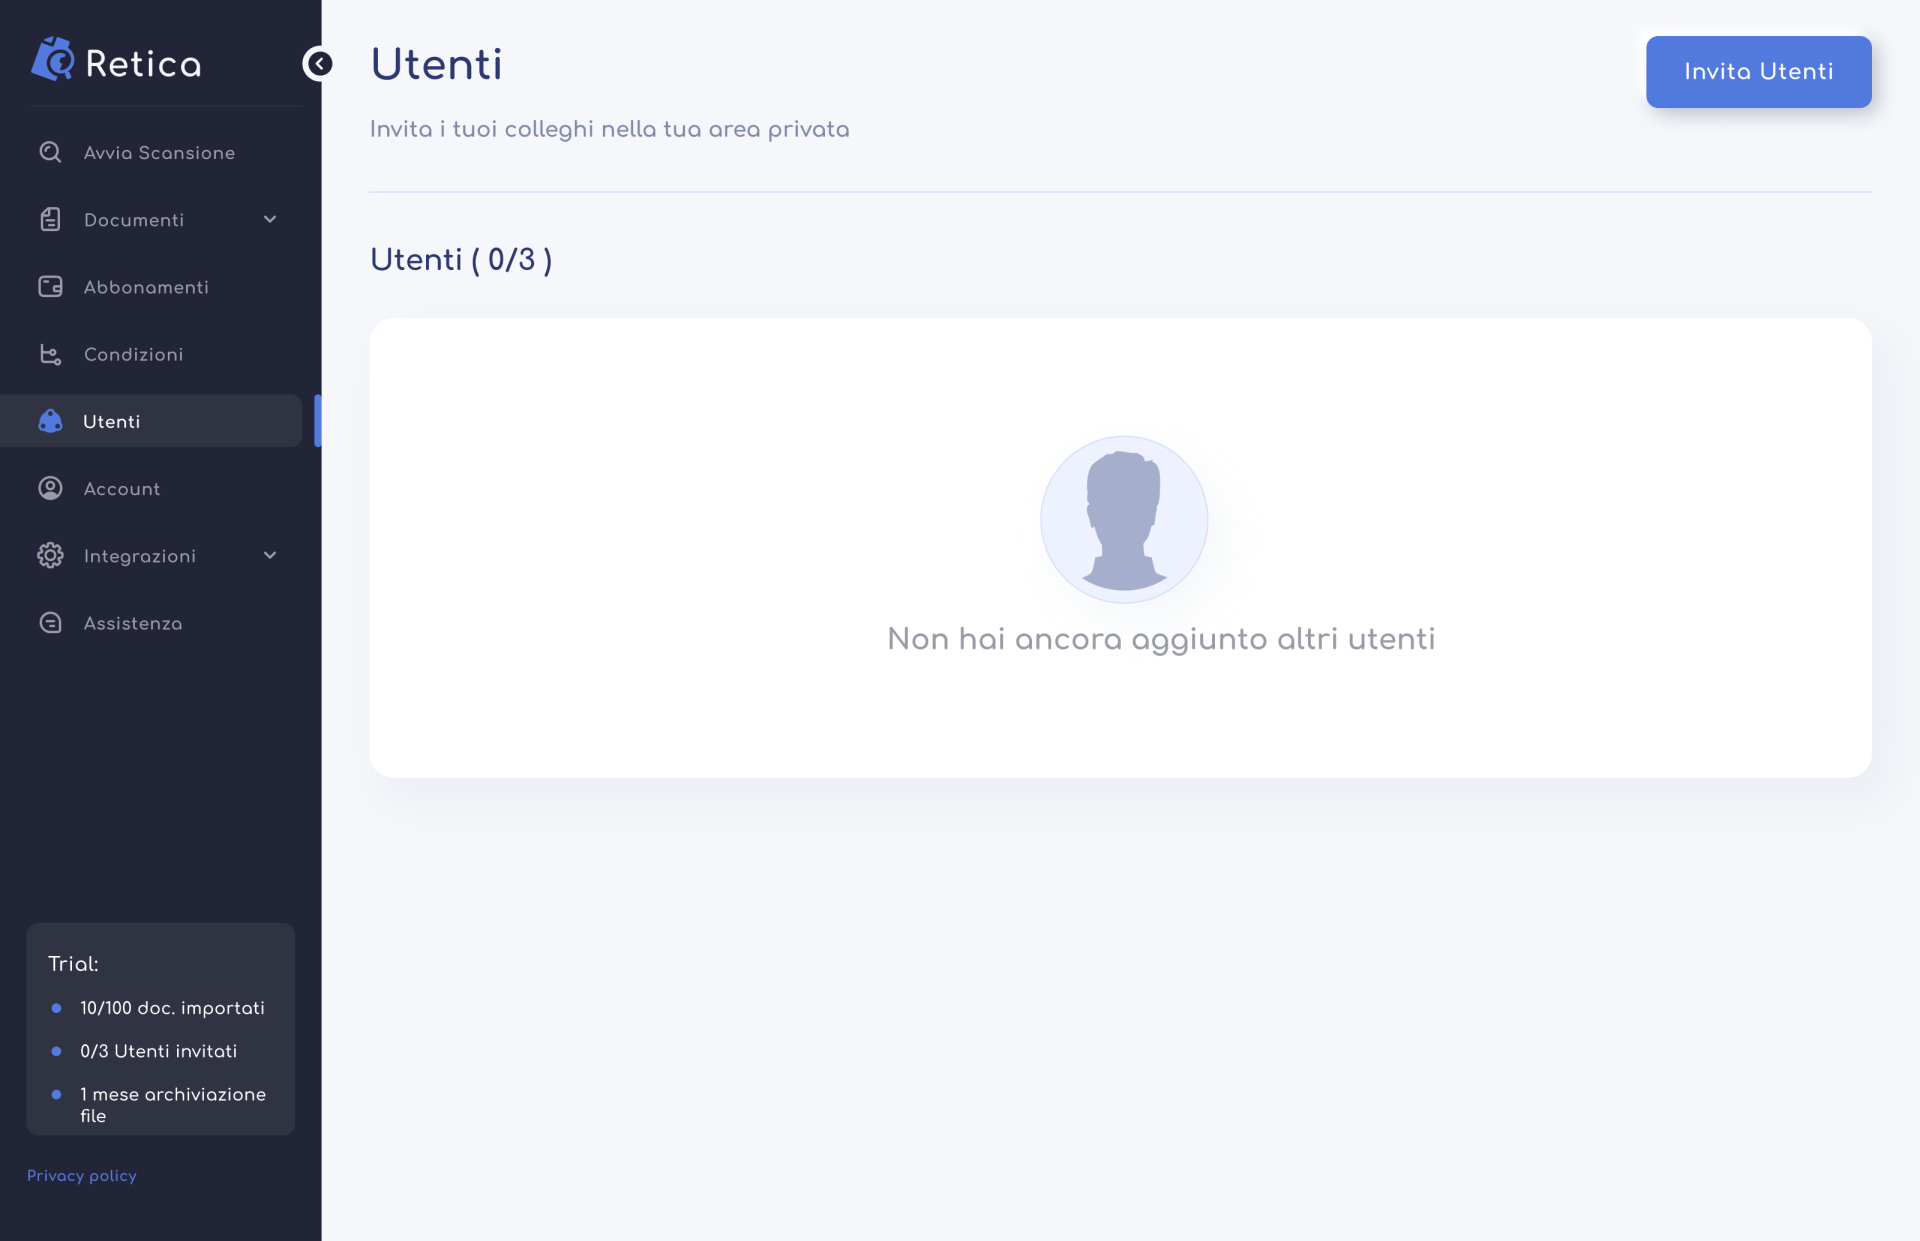
After pressing the “Invite users” button, a window will open where you will need to enter the email address you want to invite to your private area. Afterwards, by clicking the “Confirm” button, an invitation email will be sent to the address entered and the user will appear in the users table.
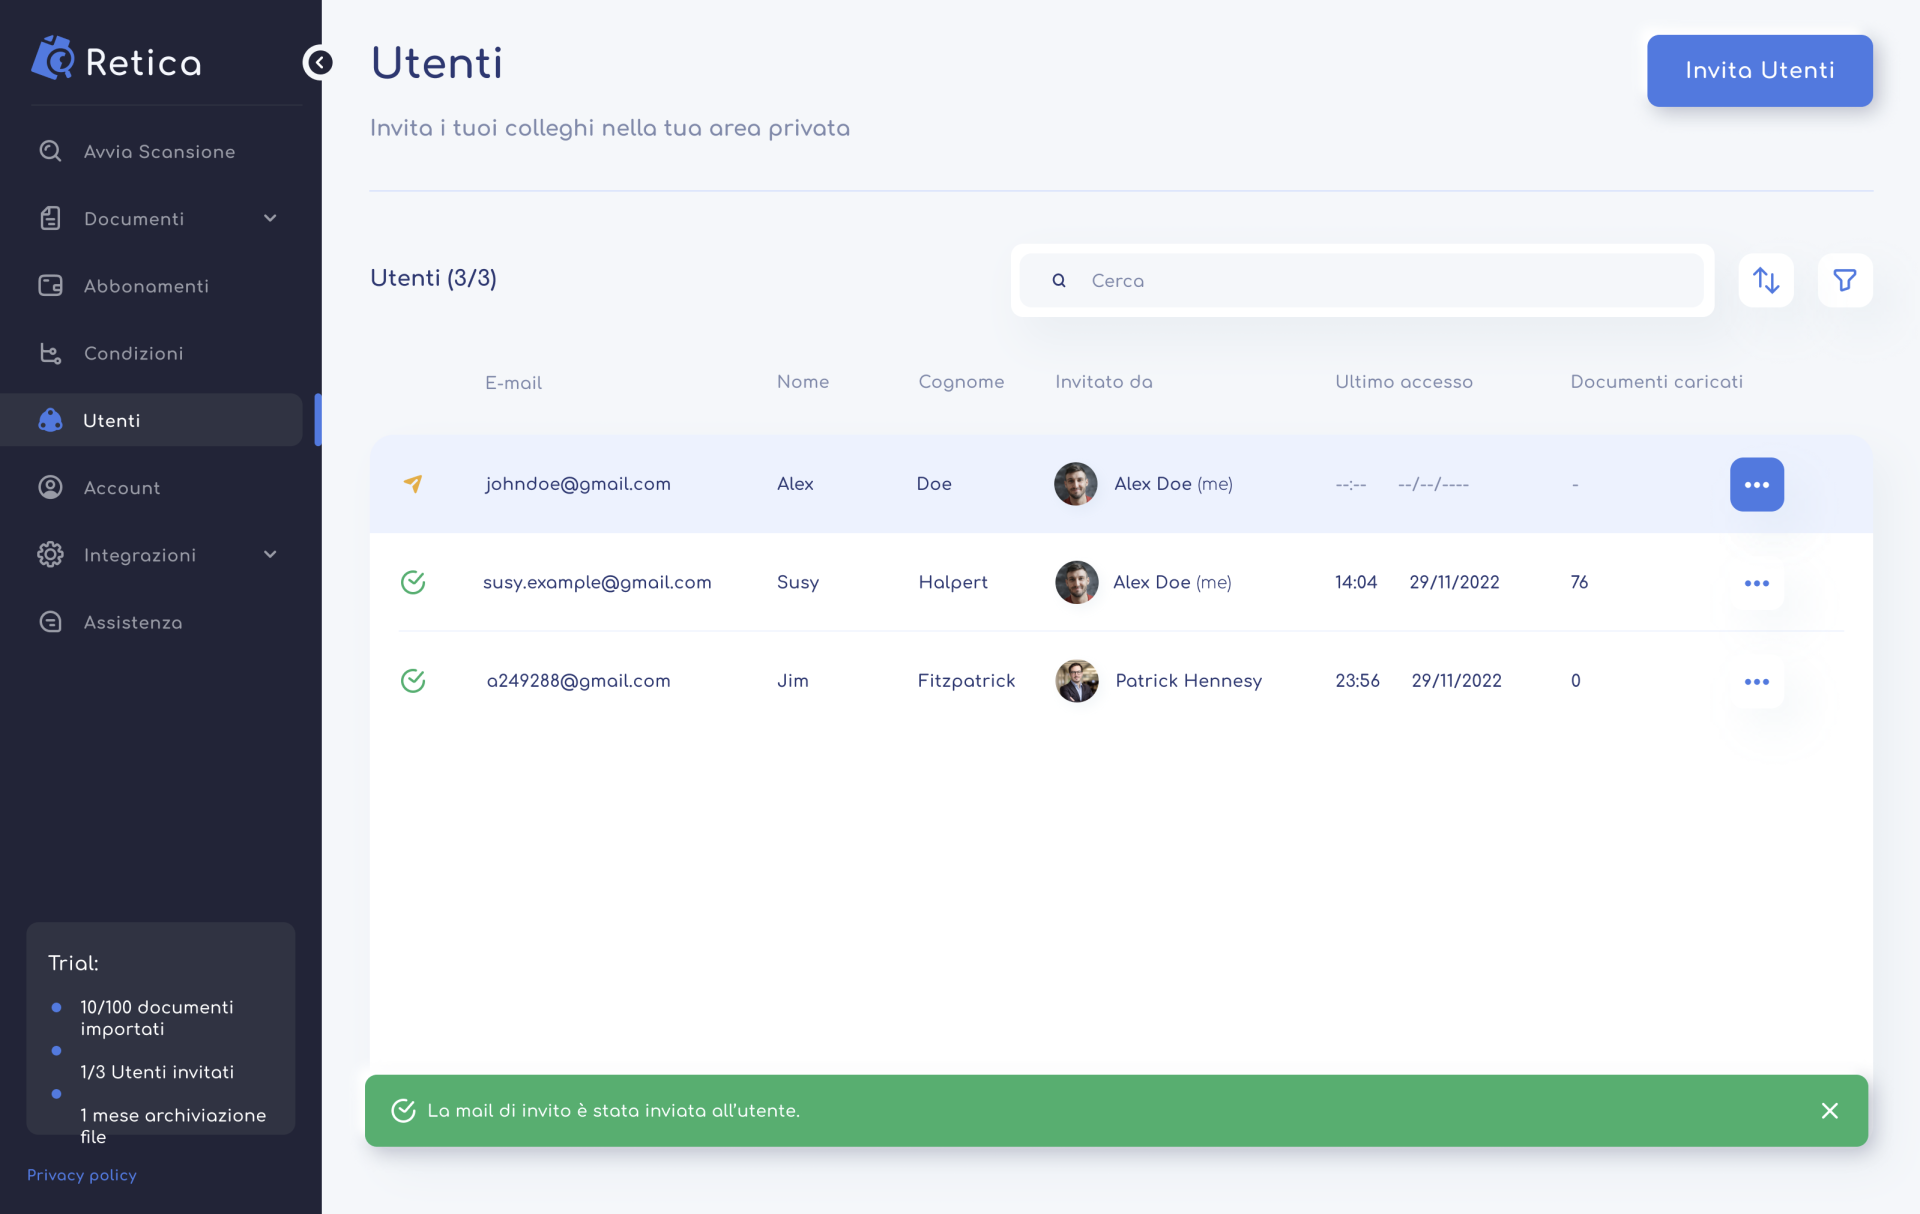
User Management
The user table shows the information related to each individual user. As highlighted in the previous image, at the beginning of the row there is an icon that indicates whether the user has received the email but has not yet logged in (orange icon) or whether the user has already received the invitation email and has logged in for the first time.
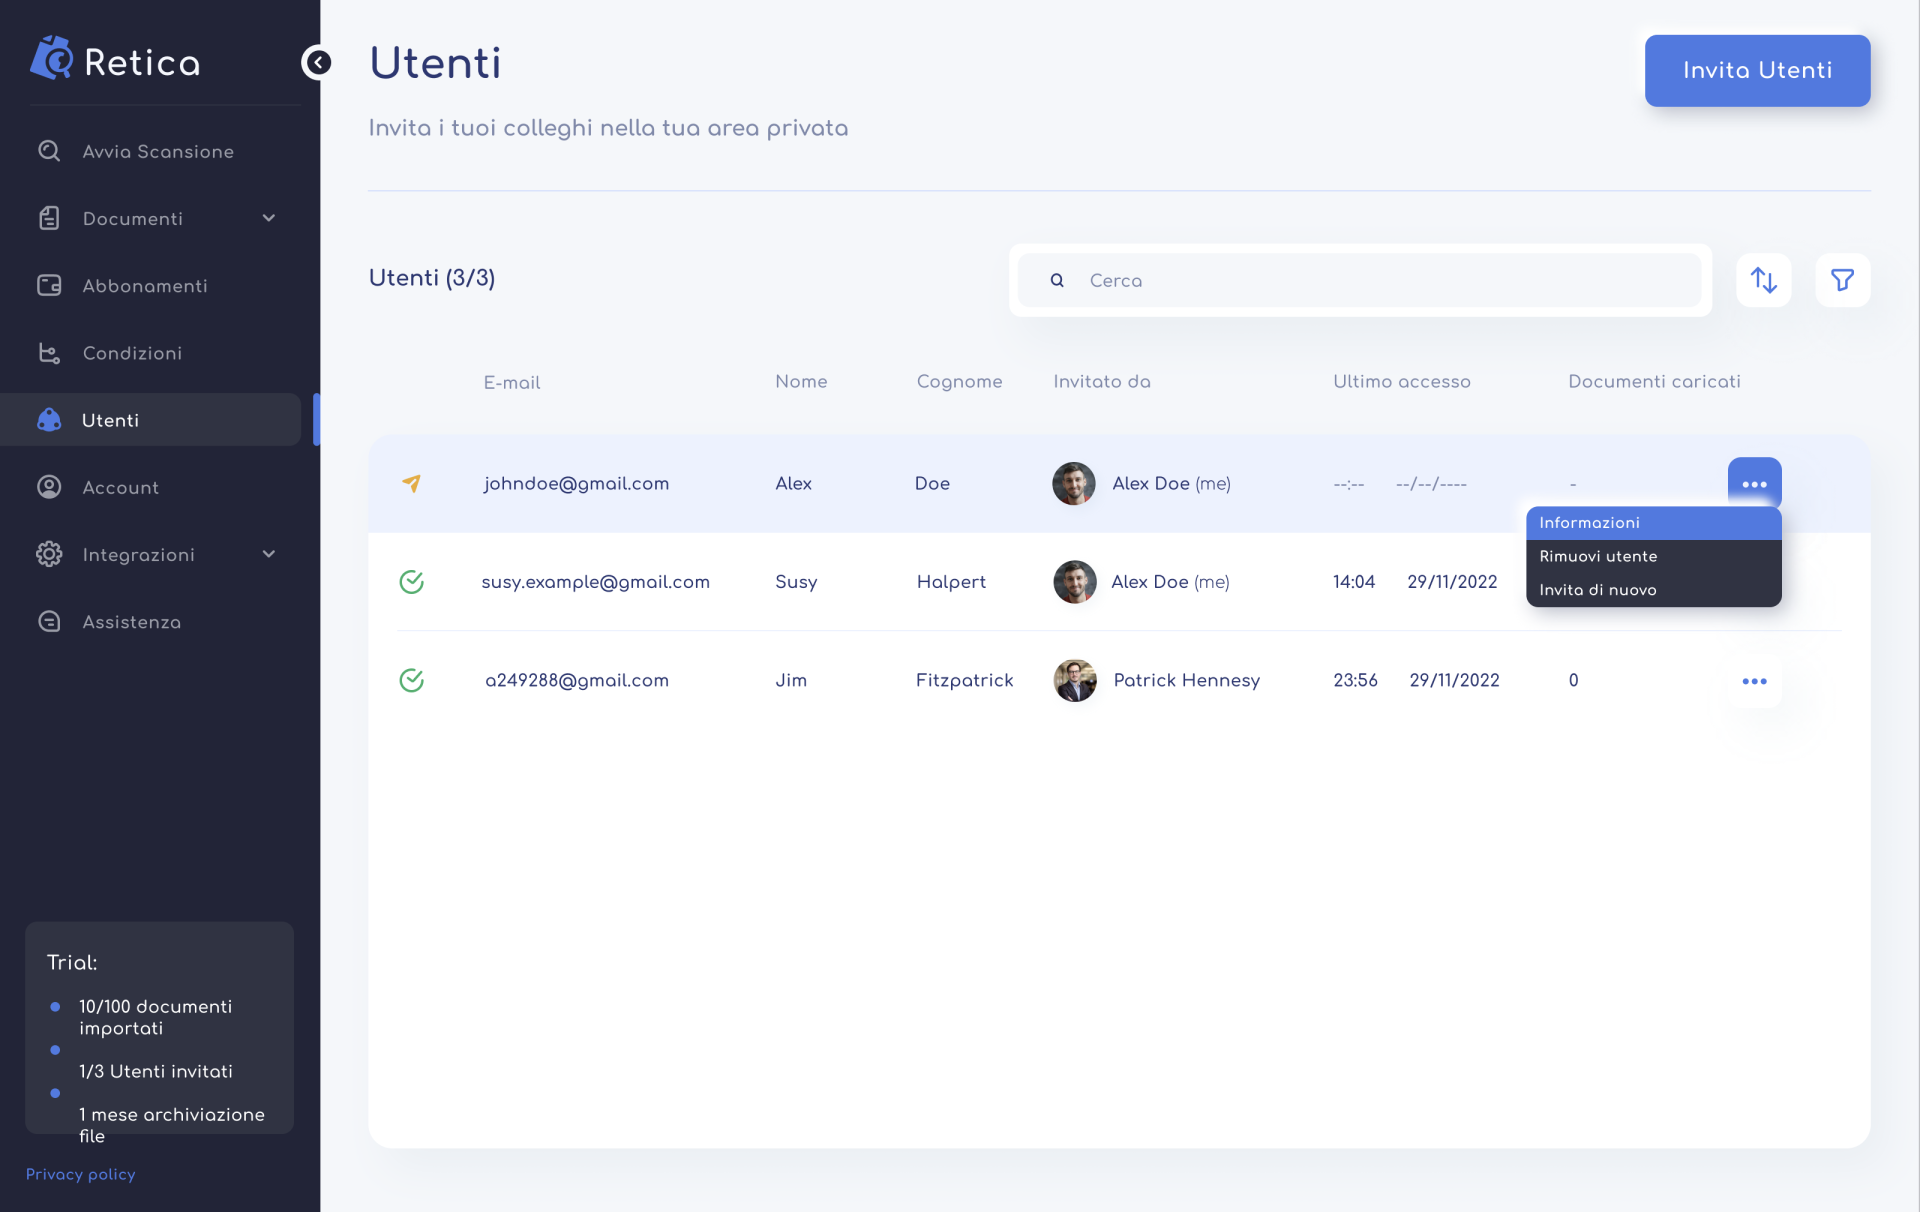
At the end of the user row there is an “Options” button, which allows you to:
- View the user’s information
- Remove the user (and therefore no longer allow them to access the platform)
- Invite the user again if the invitation email was lost by the user
User information
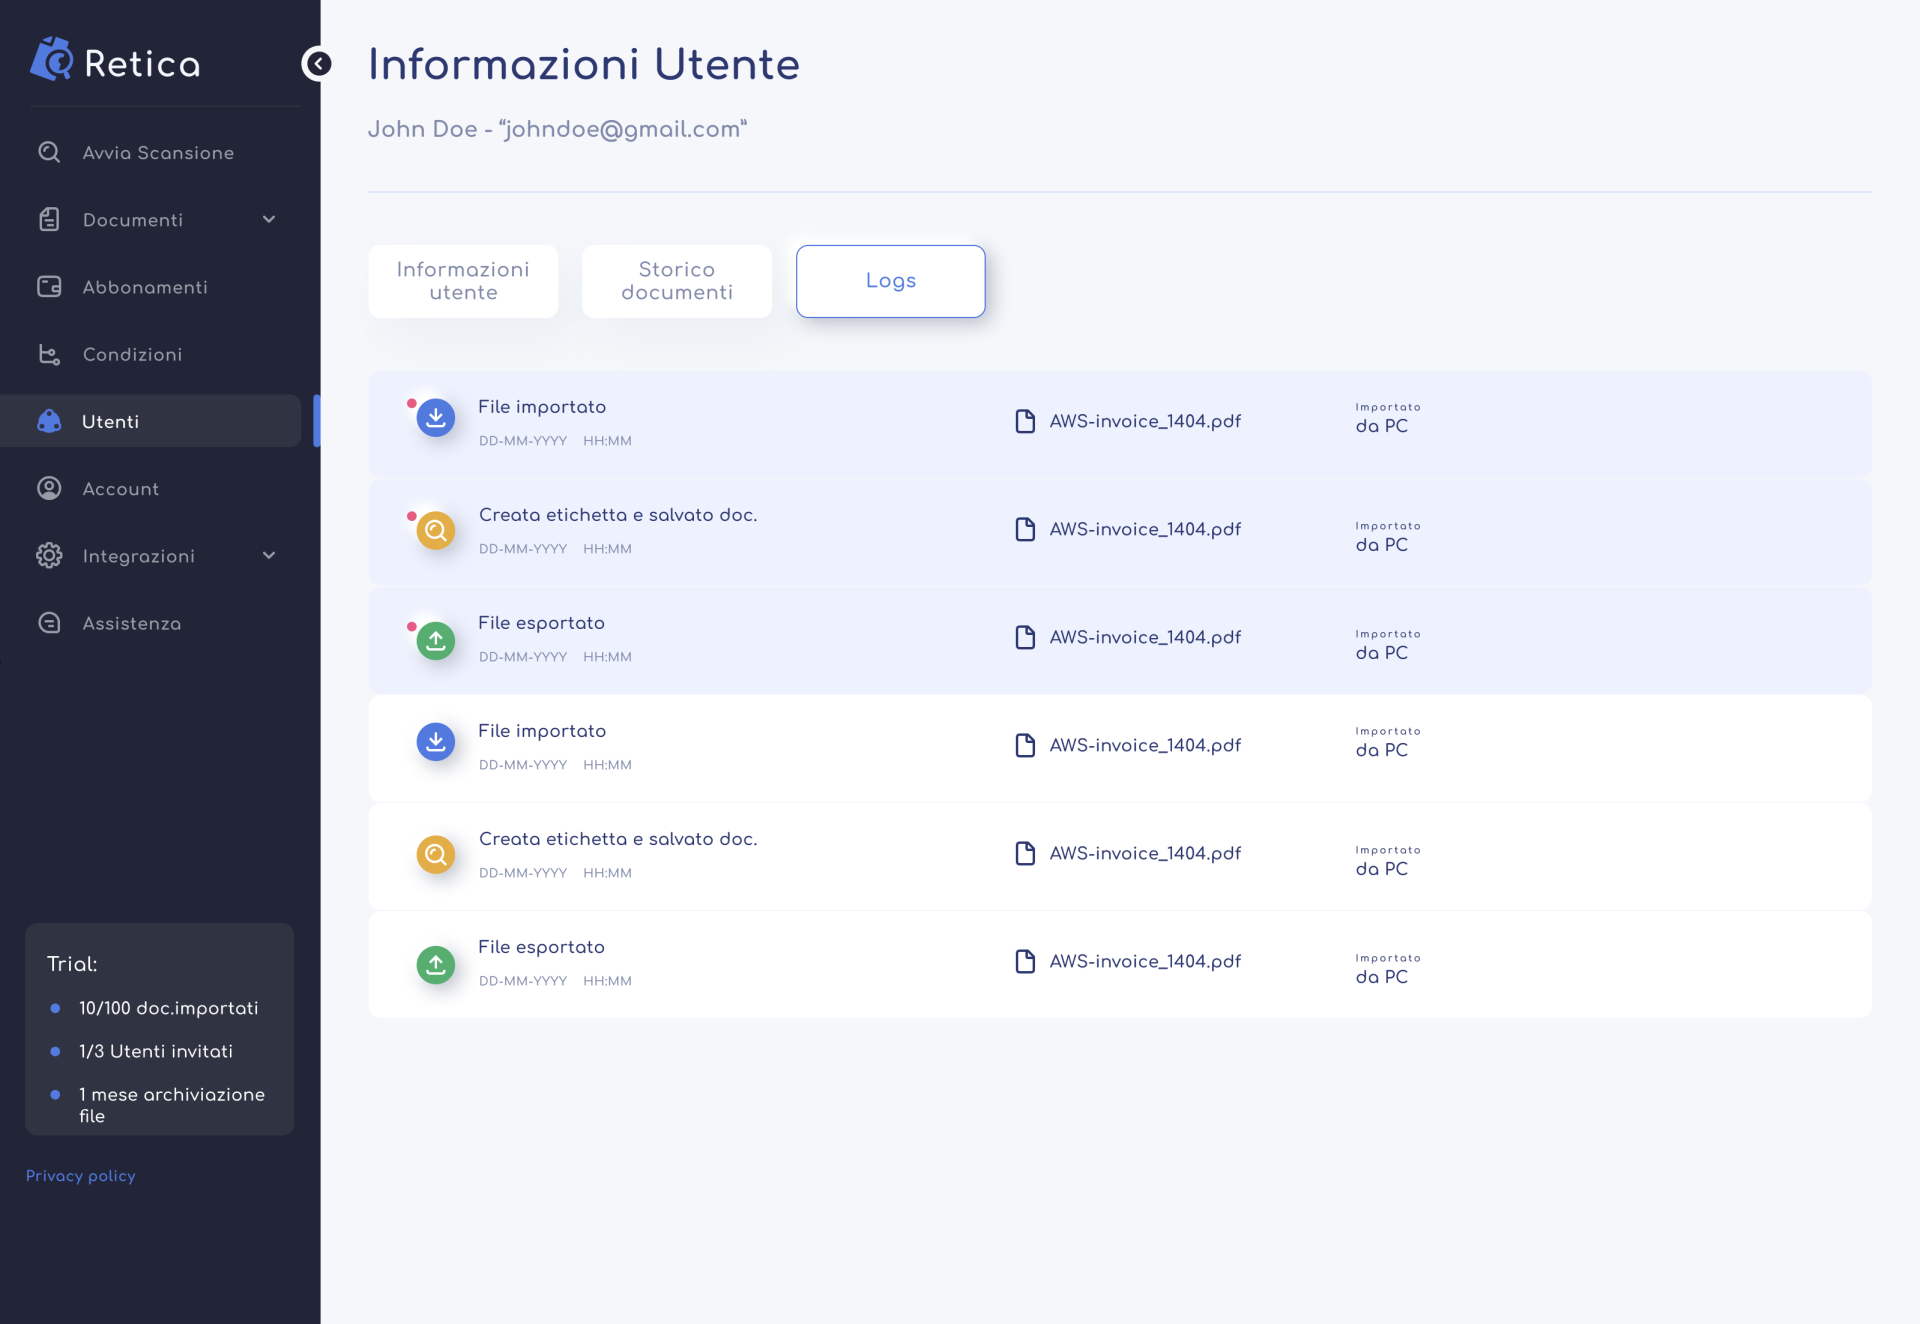
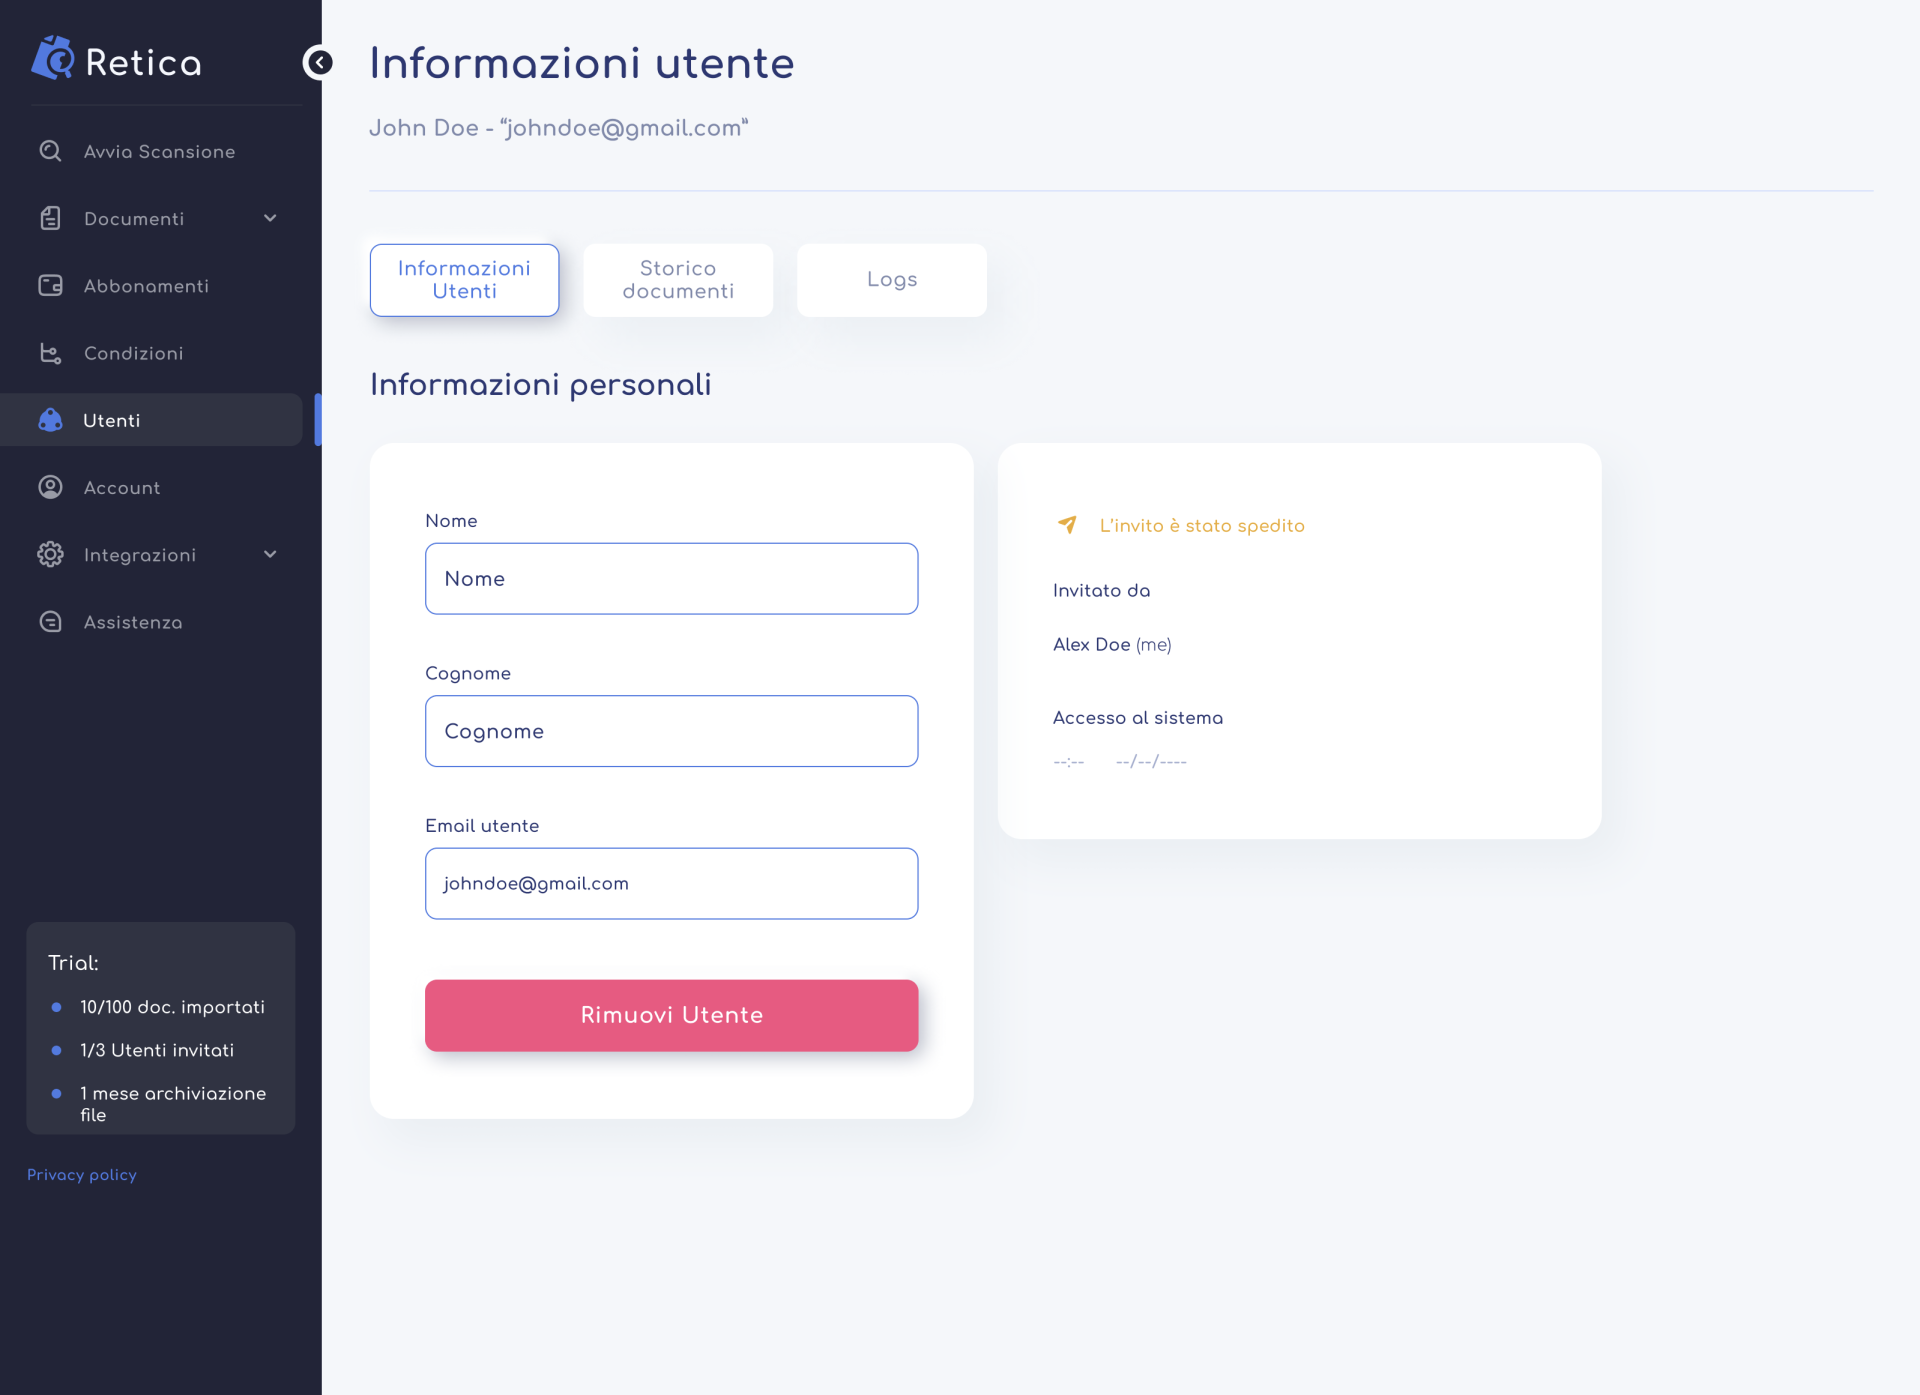
In the detail section of a user, you can consult all the information associated with it. This section is divided into three areas: “User information”, “Document history” and “Log”. In the section relating to the user’s information, you can view their contact details, such as email address, name and surname, as well as some information regarding the first access to the system and who invited them.
There is also the remove user button, which allows you to delete the user by removing the possibility of accessing your private area.
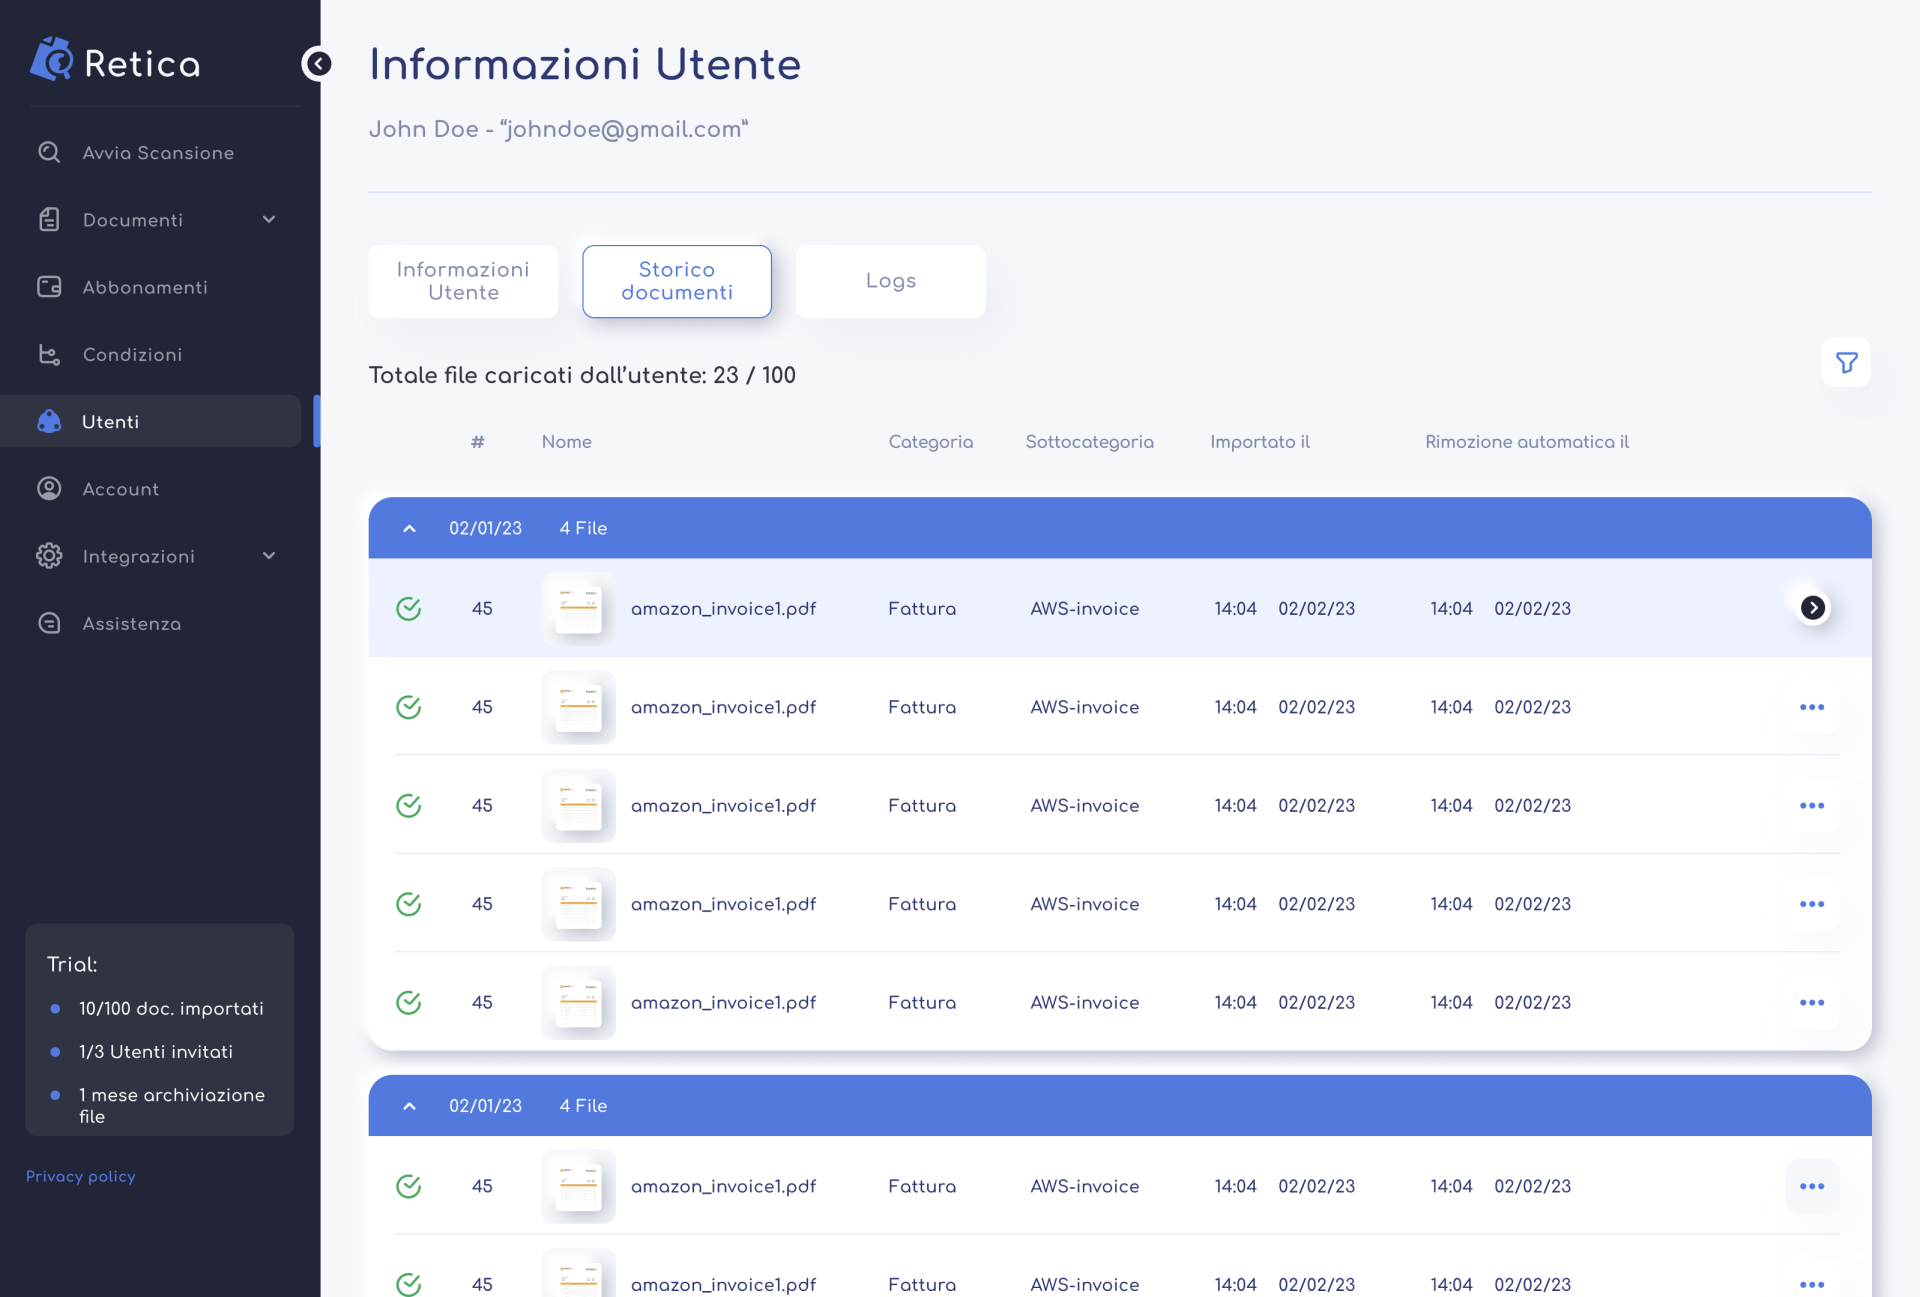
In the document history section, you can view a tabular list of all documents processed by the user, as well as other information related to each document.
By clicking on the “Options” button located to the right of the document row, you can examine the processed document in detail, displaying the labeling applied by the user.
Finally, the log section allows you to consult, through a table, the most recent user activities, including events such as importing and processing documents, as well as access to the platform.
